HOW TO EASILY UPCYCLE YOUR WARDROBE
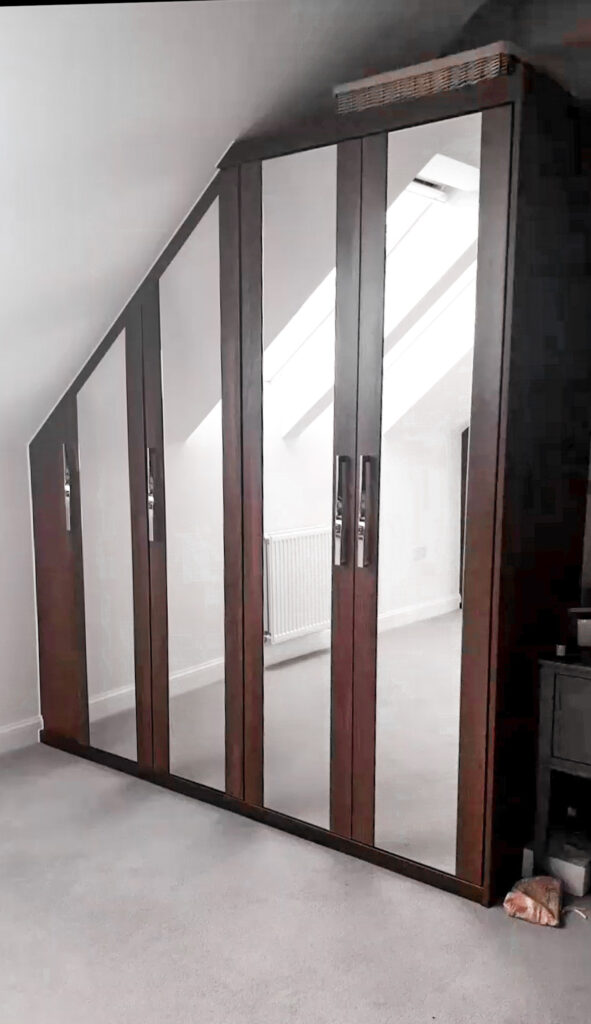
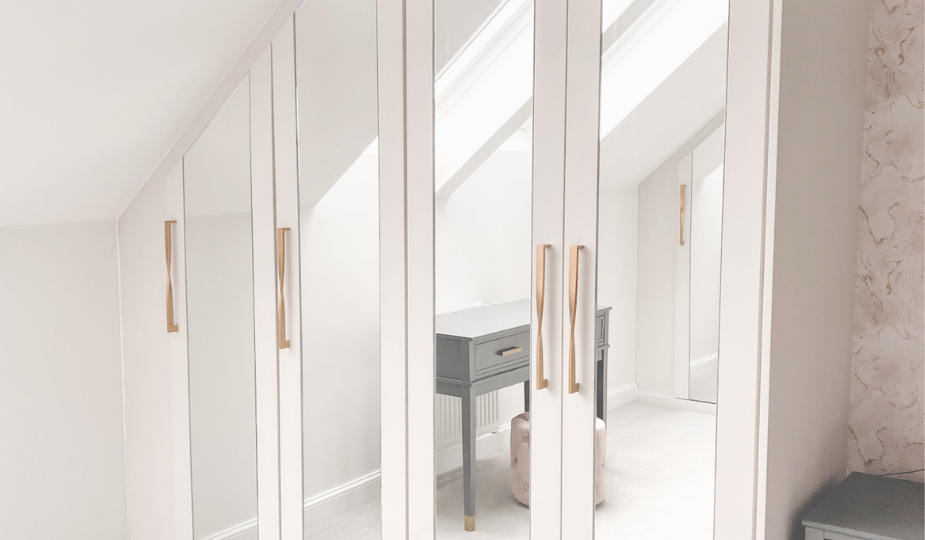
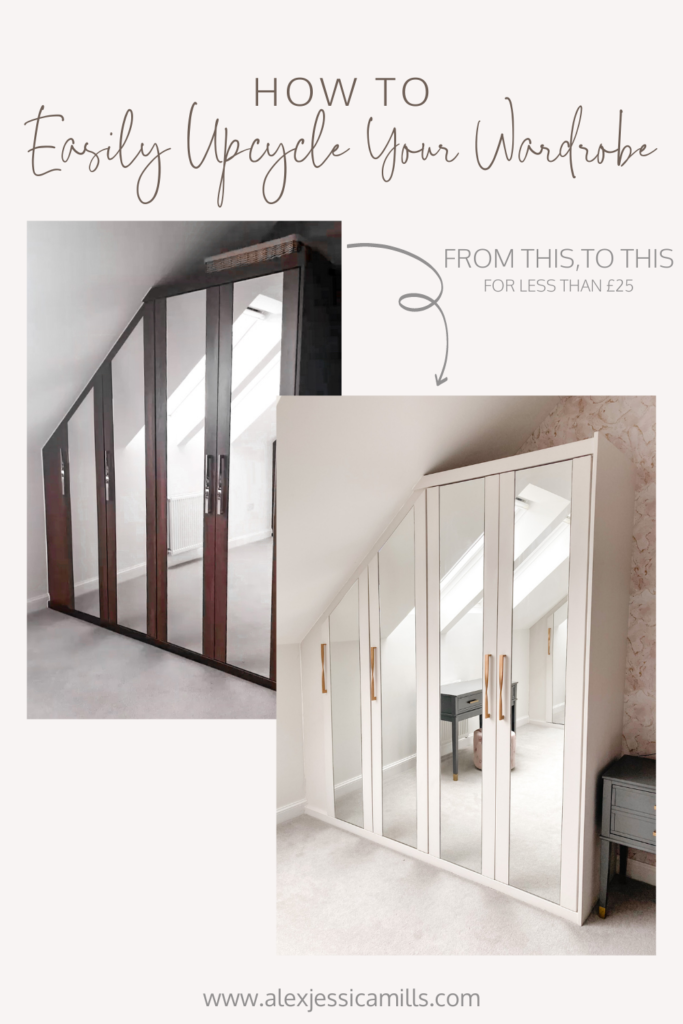
In this blog post, I’m going to tell you exactly how to easily upcycle your wardrobe! If you follow me on Instagram, you may already know I moved house a few months ago. The fitted wardrobes in the bedroom were great storage and good quality but so ugly to look at!
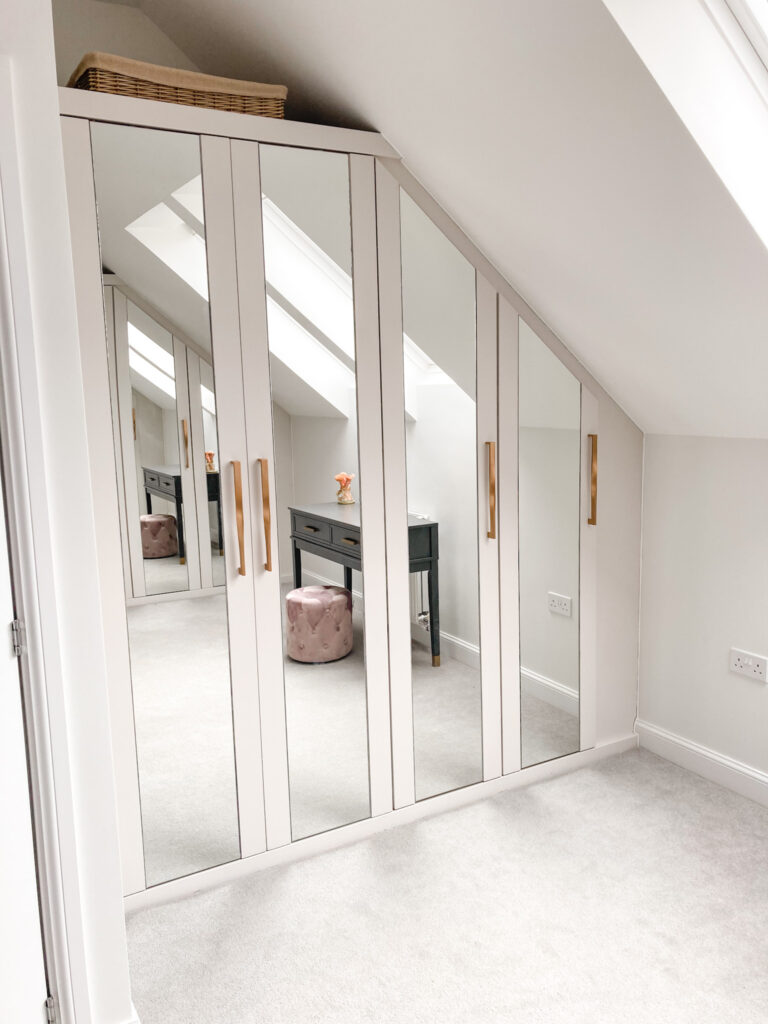
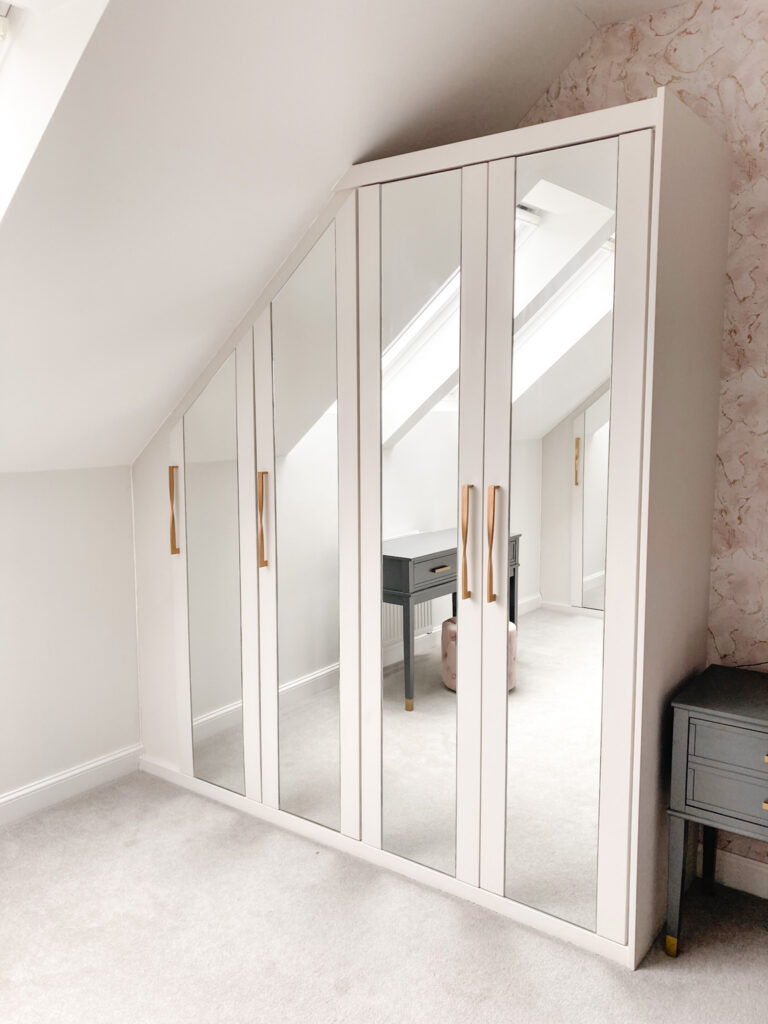
We decided, rather than ripping them out and replacing them, we would have a go at painting them ourselves. I’m so pleased with the results. It was a little time consuming but a really easy project. Read on to find out how we did it and tips we learnt from it!
The Products We Used:
Wardrobe doors: BRUSHES, PAINT and WAX. Handles: PRIMER and COLOUR. we have 2 4 door wardrobes and for these, we needed 2 tins of paint and also 2 of the handle spray paint colour. You probably also want a dust sheet or something to protect your floor.
We already had the wax and brushes so this whole project cost less than £25. It would cost you less/ more depending on the size of your wardrobe!

Before 
After 
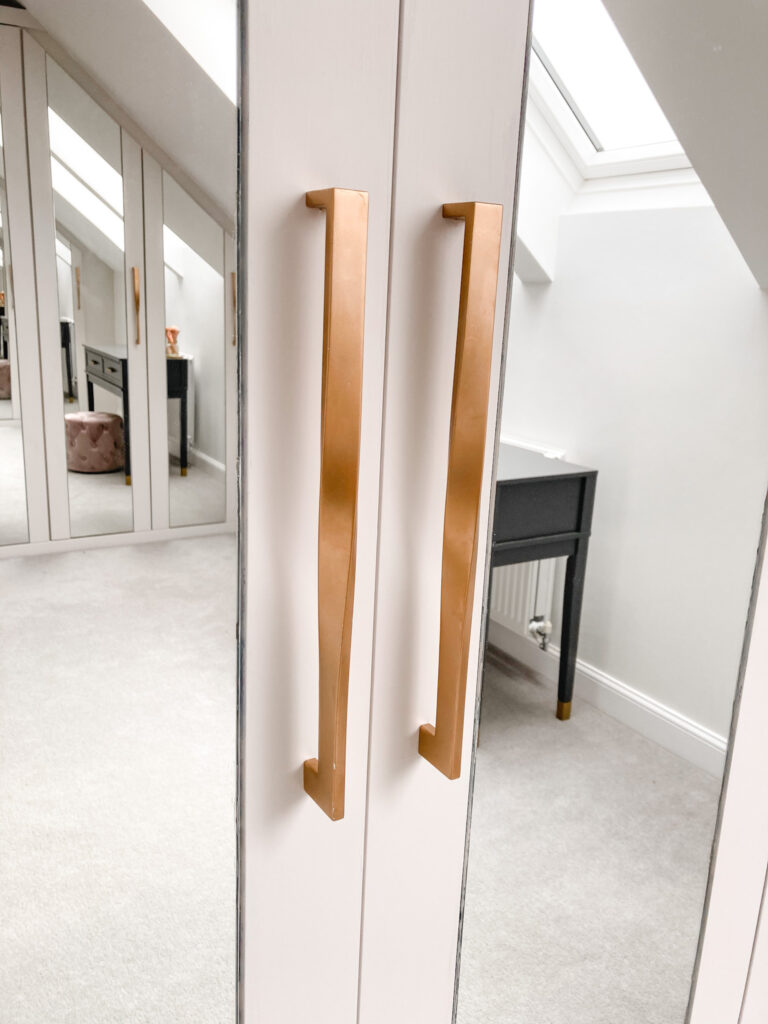
Handles After 
After
How to and Tips:
Our wardrobes have mirrors on the front which made it slightly more tricky. If you have a standard wardrobe it will be much easier!
Method to Easily Upcycle your Wardrobe:
Before you start, remove the handles and make sure the surface is clean.
Get painting. It is pretty much that straightforward! Our wardrobes needed 3 coats and each coat needs 12 hours to dry before doing the next layer. This is why it takes a while but it is better to do more thinner layers than put it on too thickly.
If your wardrobe has mirrors, any paint that gets on the mirror can be easily wiped off with a clean cloth and window cleaner. Once you’re happy with the paint and it’s all dry, you can add the wax if you want to.
I did look at getting new handles but I couldn’t find any I liked that were the right size. If you have wooden handles you can probably paint them the same as the wardrobes. Ours are metal so we spray painted them. It took one layer of primer then two layers of the gold colour. Again, this took a while as our handles are twisted. Take your time and make sure you cover them from every angle.
Replace your handles, give the glass a final clean (if you have mirrors) and you’re done!
It really was so easy!
Tips on How to Easily Upcycle your Wardrobe:
On the first wardrobe, I spent a long time masking taping around the mirrors before painting. The tape didn’t seem to fully protect the mirror and then left a sticky mess that took ages to scrape off. So for the second wardrobe, we just painted it carefully and then wiped off any paint with glass cleaner.
Watch out for drips. When you paint the doors, drips can easily spill over the edge. Clean them asap to avoid them drying that way.
We spray painted the handles outside. It was really windy and a bit of dust seemed to stick to the paint. It isn’t really noticeable but try and do them inside (protecting your surface) or on a non-windy day!
The wax didn’t make much difference so I probably wouldn’t bother with it next time.
Thank you so much for reading. I hoped this post has given you some inspiration and tips on how to give your old wardrobe a new lease of life!

DISCLAIMER: Some affiliate links have been used on this post. This means that if you click on a link through to a retailer and purchase something I may receive a small commission on your purchase. This does not add any additional cost to you as a customer.

